Bike grips are an essential component of any bicycle, providing a comfortable and secure grip for the rider. Installing bike grips may seem laborsome, but Installing new grips on your bike can be a quick and easy way to refresh your ride and improve your grip while cycling.
Whether you’re a seasoned cyclist or just starting out, installing bike grips is a simple process that can be done at home with just a few tools. Here we will take you through all the steps on how to install bike grips quickly and easily.
We will cover removing old grips, installing new ones, using an Allen key or screwdriver to secure them, and even adding the finishing touch with bar end plugs. Plus, we will share some tips for getting a secure grip and common mistakes to avoid. So let’s get started.
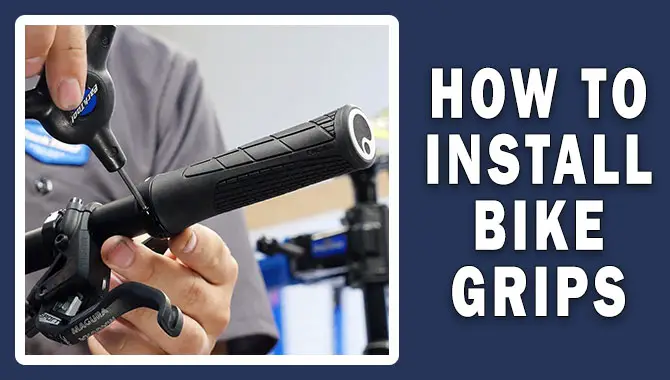
How To Install Bike Grips For Secured Grip On Bike
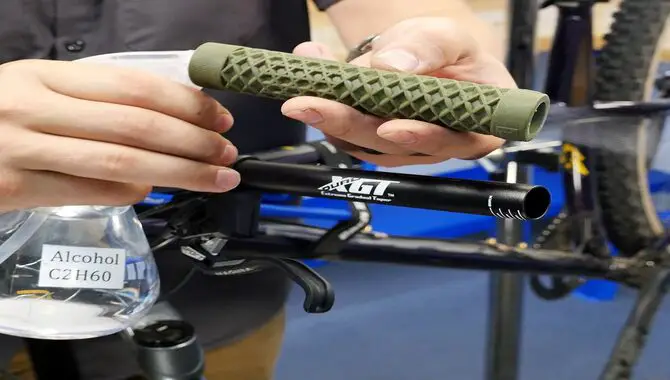
Bike grips are a crucial component of any bike, providing comfort and control while riding. Many bike grips are available on the market, ranging from foam to rubber to silicone. When selecting bike grips, it is important to consider factors such as grip texture, durability, and comfort.
Installing bike grips may seem daunting initially, but it can be a relatively simple process with the right tools and techniques. Here’s what you need to know how to install bike grips. Following these simple steps, you can easily install your new bike grips and enjoy a more comfortable ride.
1. Removing Old Grips
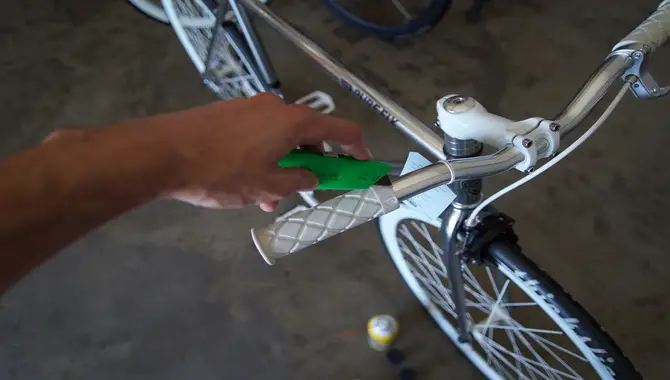
Before installing new grips, you must remove the old ones. Start by using a sharp utility knife to cut away any tape or adhesive holding the grips in place.
Once the tape or adhesive is removed, twist and pull the old grip off the handlebar. If the grip is stubborn, you may need a grip removal tool or compressed air to loosen it. Clean any residue left on the handlebar with rubbing alcohol before installing new grips.
2. Slip-On Grip Removal
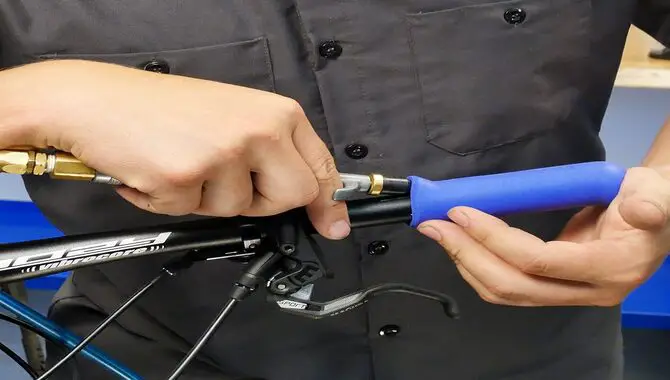
To remove slip-on bike grips without damaging the handlebars or brake levers, use a flathead screwdriver to pry them off gently. For easier removal, spray rubbing alcohol or hairspray underneath the grip to loosen it.
Clean the handlebar thoroughly after removing the old grip to ensure a snug fit for your new grip. Remember to choose the appropriate size and style from your new set of rubber handlebar grips.
3. Lock-On Grip Removal
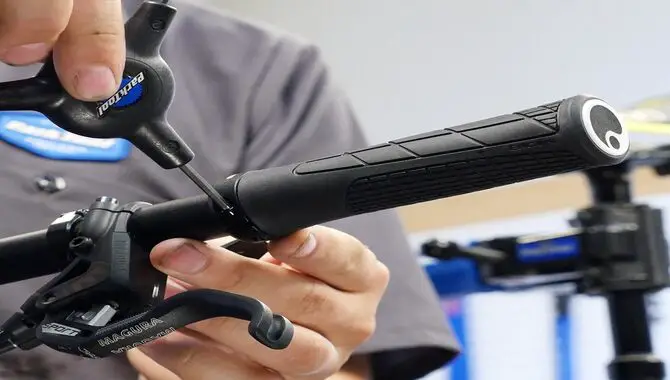
If you need to remove your lock-on bike grips, there are a few steps you can follow to make the process easier. First, use a flathead screwdriver or a similar tool to pry off the end cap on the grip. Then, use an appropriate tool to loosen the bolt or screws that hold the grip in place.
Once the bolts are loose, slide the grip off the handlebar. If the grip is still difficult to remove, try spraying some rubbing alcohol or hairspray between the grip and the handlebar to loosen it up. Once the grip is removed, clean any adhesive residue from the grip and handlebar before installing new grips. Remember to tighten all bolts and screws securely when installing new grips to ensure they stay in place while riding.
4. Installing New Grips
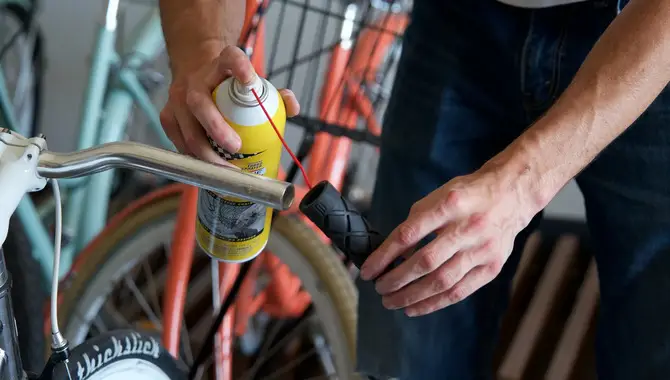
When replacing worn-out handlebar grips on your bike, remove the old ones with a razor blade or compressed air. Clean your handlebars thoroughly with nonresidual cleaners like isopropyl alcohol before applying lubricants such as hairspray or rubbing alcohol to the inside of your new set of rubber grips. Applying enough torque to ensure a snug fit and adjust their position for optimal mountain biking comfort using an appropriate wrench or screwdriver.
5. Slip-On Grip Installation
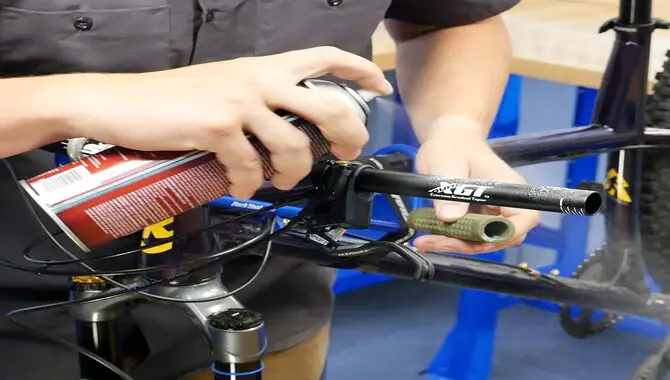
If you have chosen slip-on bike grips, installation is quick and straightforward. Start by preparing your handlebar and new grips, ensuring they are clean and free of debris or adhesive residue. Gently apply a lubricant such as rubbing alcohol or hairspray to the inside of your new grips before sliding them onto the handlebar. Make sure to align the grip’s pattern with the correct side up for comfort and optimal grip while riding.
Once in position, adjust the grip to your preferred location and tighten it firmly into place using a wrench or screwdriver. Congratulations! Your new bike grips are now installed and ready for your next ride. Remember to always check the tightness of your grips and handlebar bolts before hitting the trails for optimal safety and performance.
6. Lock-On Grip Installation
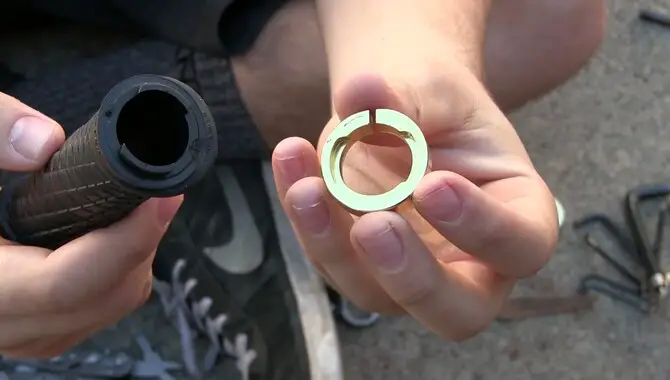
Lock-on bike grips may require a bit more effort to install, but the extra security they provide is worth it. Begin by removing any old grips and cleaning your handlebars thoroughly. Slide the inner collar onto the handlebar and align it with your desired position.
Then, slide the grip onto the handlebar over the inner collar. Finally, tighten the outer collar with an appropriate wrench or screwdriver to securely lock the grip. Double-check the tightness of all bolts and screws before riding your bike to ensure maximum safety and performance on the trails.
How To Use Allen Key
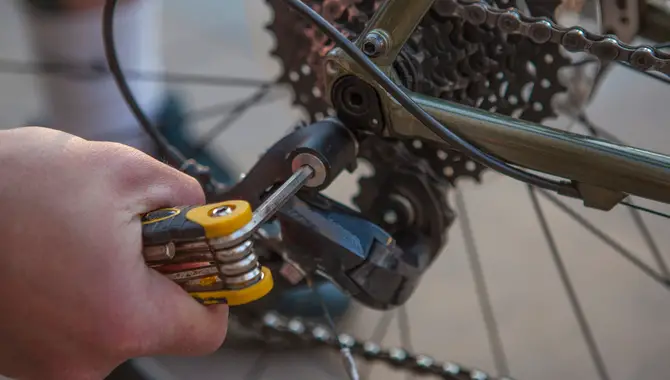
An Allen key, also known as a hex key, is used to tighten or loosen screws and bolts with hexagonal sockets. First, use an Allen key to select the appropriate size for your screw or bolt. Insert the short end of the Allen key into the socket and turn it clockwise to tighten or counterclockwise to loosen.
It’s important to ensure the Allen key is fully inserted into the socket to avoid stripping or damaging the bolt head. Use steady pressure and avoid over-tightening to prevent damage or potential safety hazards.
How To Use A Screwdriver
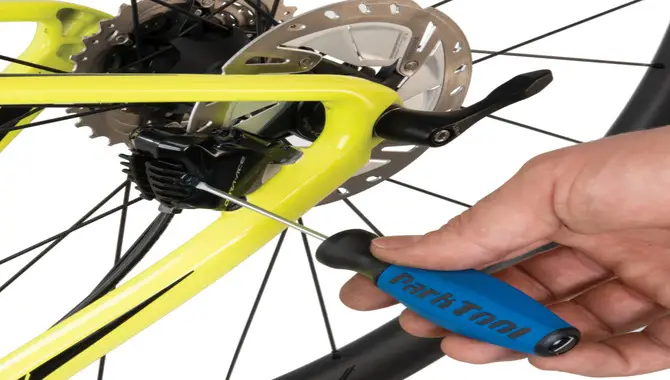
A screwdriver is a versatile tool to tighten or loosen screws with a slotted or Phillips head. To use a screwdriver, select the appropriate size and type for your screw head. Place the screwdriver’s tip into the slot or cross of the screw and turn it clockwise to tighten or counterclockwise to loosen.
Applying steady pressure and avoiding stripping the screw head by using too much force is important. Remember to always match the size and type of your screwdriver to your screw head for optimal performance and safety.
Don’t Forget The Bar End Plugs
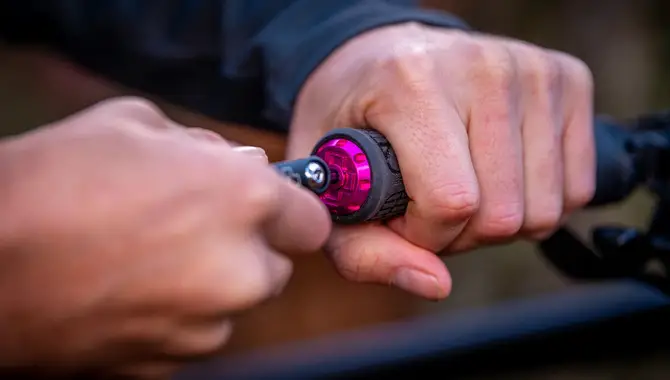
When installing bike grips, one important step that is often overlooked is inserting bar end plugs. These small plugs fit into the ends of the handlebars and serve a crucial safety function, preventing the grips from slipping off during use. Without them, the exposed metal ends of the handlebars can cause injury in the event of a fall or accident.
To install bar end plugs, simply insert them into the ends of the handlebars before sliding on the grips. Make sure they are snugly in place and secure before hitting the road. It may seem like a small detail, but adding bar end plugs to your bike grip installation routine can make a big difference in keeping you safe on your rides.
Tips For A Secure Grip
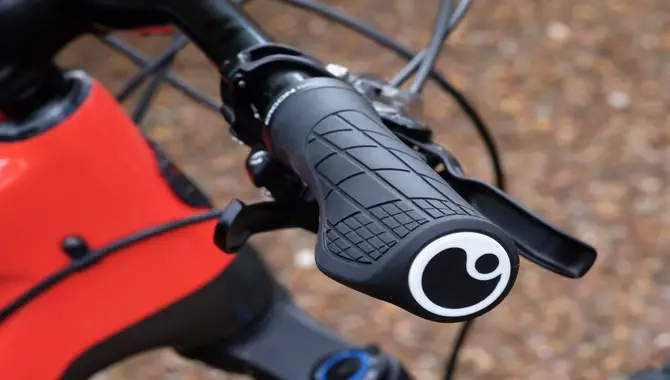
For a secure and snug fit when installing new bike grips on your handlebars without any damage or cosmetic issues, use lubricants like hairspray or grip glue while sliding on the new grips. Installing them using an air compressor or compressed air will make it easier.
Once done, ensure that your new bike grips are in place before heading out for your ride. Installing bike grips can be an easy way to upgrade your ride and improve your comfort while cycling. Here are some tips for ensuring a secure grip:
- Clean the handlebars. Before installing new grips, ensure the handlebars are free of dirt, grease, and other debris. This will help the grips stay in place.
- Apply grip glue. Some grips come with adhesive already applied, but if yours don’t, apply grip glue to the inside of the grip before sliding it onto the handlebar.
- Use compressed air. If you’re having trouble gripping the handlebar, try using compressed air to help lubricate the surface and make it easier to slide on.
- Allow time to dry. After installing the grips, give them time to dry completely before using your bike. This will ensure they have adequately set and won’t slip during use.
By following these tips, you can enjoy a secure and comfortable grip while biking.
Common Mistakes To Avoid
To install bike grips without any hassle, avoid these common mistakes. Clean your handlebars with a nonresidual cleaner to remove contaminants before installation. Avoid over-tightening the grip using a wrench or pliers to prevent cosmetic damage. Use an appropriate lubricant such as WD-40 or isopropyl alcohol for an increased friction fit and expansion plug system. Lastly, align the grips correctly using zip ties or a torque wrench for a better grip bond and snug fit.
Conclusion
Biking enthusiasts understand the importance of comfortable and secure grips when riding. Not only do they provide additional support and control, but they also help to reduce hand fatigue during extended rides. If you want to upgrade your bike grips or have recently purchased a new pair, you may wonder how to install bike grips properly.
Installing bike grips is a quick and simple process, but following the steps to install them with a secure grip and avoid any mishaps is essential. We have covered everything from removing old grips to installing new ones. Do not forget to use bar end plugs for added safety. It is also crucial to check that your grip is slip-proof before you hit the road. Avoid common mistakes such as using too much force or not aligning them correctly.
Frequently Asked Questions
1.How Do You Install Bike Handlebar Grips?
Ans: Remove the old ones and clean the handlebars to install new bike handlebar grips. Use a small amount of grip glue or rubbing alcohol on the bars, then carefully slide on the new grips. Allow time for drying before using your bike to ensure a secure fit.
2.What Are The Benefits Of Installing Bike Grips?
Ans: There are multiple advantages to installing bike grips, such as improving grip and reducing hand fatigue and blisters. Additionally, grips can absorb shock and make your ride more comfortable. Customizing them can add a personal flair to your bike.
3.Are There Any Tips Or Tricks For Removing Old Bike Grips?
Ans: To remove old bike grips, try prying them off with a tool, using rubbing alcohol or hairspray to loosen them, cutting them lengthwise and peeling them off, or applying heat to soften the grip. Experiment with different methods to find what works best for your specific situation.
4.How Can I Properly Maintain My Bike Grips To Ensure Longevity?
Ans: To maintain the longevity of your bike grips, gently clean them with mild soap and water, avoiding harsh chemicals that could harm the material. Replace any worn or damaged grips promptly and store your bike in a dry area to prevent moisture from causing deterioration.
5.Are There Any Different Types Of Bike Grips To Consider When Purchasing?
Ans: When purchasing bike grips, it’s important to consider the various types available. These include lock-on, slip-on, ergonomic, and foam grips. Lock-on grips are secure and easy to install, while slip-on grips offer comfort. Ergonomic and foam grips add extra comfort and reduce hand fatigue on long rides.

I am passionate about writing blogs about bikes. I love riding my bike and love talking about it even more. My blog is the perfect place for anyone who loves biking as much as I do. Come check it out and learn some tips and tricks from me!

