As avid cyclists, maintaining our bikes is crucial for longevity and performance. Bicycles are essential to modern-day transportation, allowing riders to traverse various terrains while reducing their carbon footprint.
Are you tired of your handlebars slipping out of your hands or feeling uncomfortable on long rides? It’s time to wrap them with grip tape. Not only does it provide a better grip, but it also adds a personal touch to your bike. Here, we will take you through an easy process on how to wrap your handlebars with grip tape.
We will cover everything from choosing the right grip tape and understanding handlebar plugs to wrapping around brake hoods, and adding gel pads for comfort. So, grab your grip tape, and let’s get started on upgrading your ride.
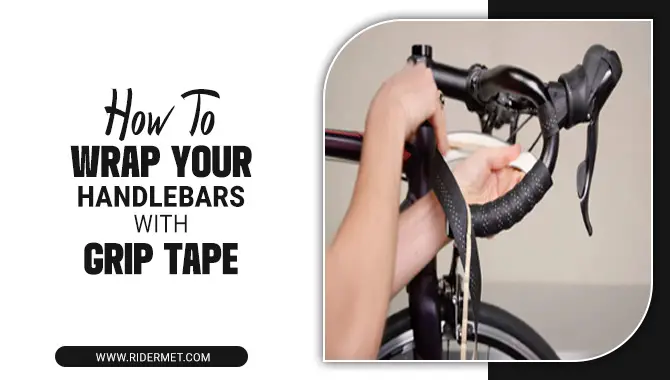
Easy Prosses On How To Wrap Your Handlebars With Grip Tape
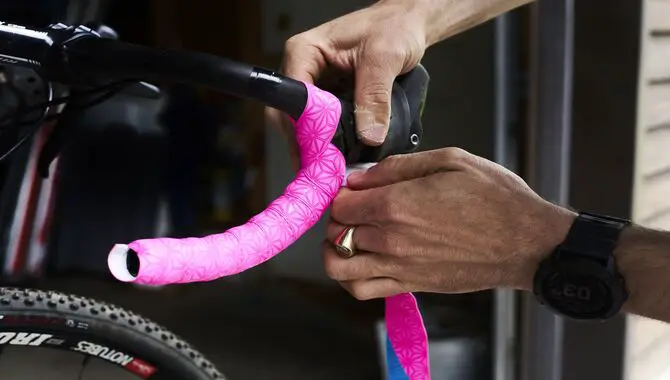
If you’re an avid cyclist, you understand the importance of having a good grip on your handlebars. That’s why it’s essential to know how to wrap your handlebar with grip tape. The process is straightforward and can be done in a few easy steps. Following a few key steps is essential when wrapping your handlebars with grip tape. Here are some prosses on how to wrap your handlebars with grip tape.
1. Choosing The Right Grip Tape
When selecting the right grip tape for wrapping your handlebars with bar tape or electrical tape, it is important to consider a few factors. You should consider the tape’s thickness and texture to ensure a comfortable yet secure grip on your handlebars while riding.
Thicker tapes can provide extra cushioning for your hands, while thinner ones offer a better feel of the handlebars for increased control. Textured tapes can give you a better grip when cycling in wet or sweaty conditions. Choose high-quality, durable tapes that will last long without wearing them out easily.
It is also essential to remember that other items, like bar-end plugs or adhesive strips, can complement your choice of grip tape. Don’t forget to trim any excess material from the end of the tape, which can cause wrinkles or overlap around levers and brake hoods for a neat finish. Use scissors to make an extended diagonal cut at each end before taping it with extra adhesive or electrical tape.
2. Understanding Handlebar Plugs
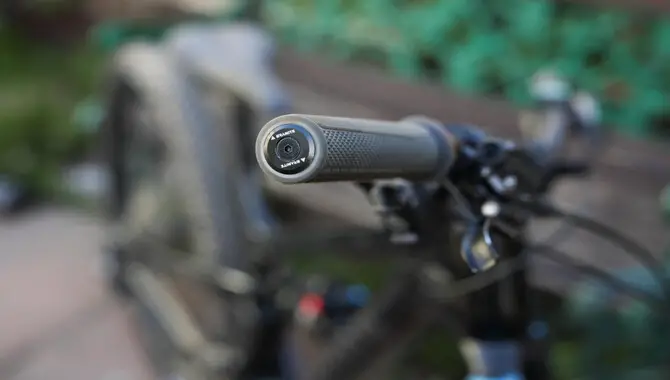
When wrapping your handlebars with grip tape, understanding how to install handlebar plugs is critical. The proper installation provides a clean finish and improves the security of your grip tape. Always ensure selecting the right size and shape of the plug by paying attention to its direction.
Cleaning residue from the old tape before inserting the plug is essential. Using scissors for an extended diagonal cut ensures optimal fitment at both ends of your bars. Now wrap your bars with fresh tape in an even thickness in a clockwise direction with half of the tape’s width overlapping on each rotation. Finish off by trimming excess tape and securing it with finishing tape or electrical tape wrapped around bar-end plugs.
3. Preparing Your Handlebars For Wrapping
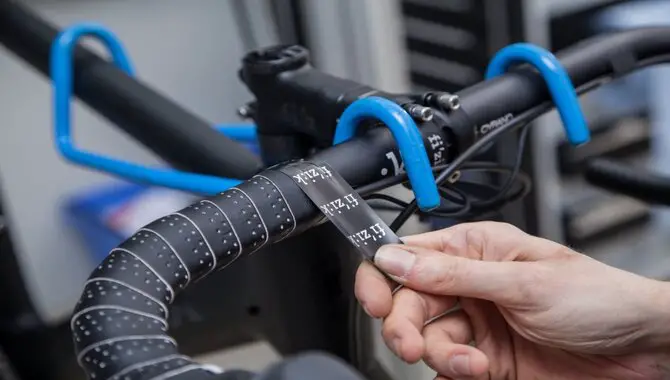
Before wrapping your handlebars with new bar tape, it is important to prepare them properly. Firstly, ensure they are completely clean and free from dirt or debris. Remove any old bar tape or residual adhesive using scissors and some electrical tape to scrape off sticky residue if necessary.
Next, decide on the direction you want to rotate your bar tape – clockwise or counterclockwise, depending on personal preference. Beginning at the end of the bar, start wrapping with half of the new bar tape width overhanging slightly beyond the end of the bar.
Use even thickness throughout and overlap each layer slightly for better grip and cushioning while riding. Finally, when reaching close to the brake hood or shifter lever body. Neatly tuck under by making a long diagonal cut across excess tape towards the bottom of the bar before continuing to wrap until reaching your preferred length.
4. Wrapping Your Handlebars

For a neat finish when taping your handlebars, start by preparing them properly. Clean and dry them thoroughly to remove any dirt or residue from old tape or adhesive strips. Choosing the right grip tape that offers good cushioning and a comfortable grip while riding is also important.
Begin the wrapping process at one end of the bar in either a clockwise direction or counterclockwise. Overlap each layer slightly to achieve even thickness and avoid wrinkles or excess tape. To finish off neatly, use electrical or finishing tape to secure the end of the bar-end plugs.
5. Overlapping Grip Tape
Wrap half of the tape around one end of the bar clockwise to get a neat finish and even thickness when wrapping your handlebars with grip tape. Overlap each layer slightly to ensure an even and secure grip. Use scissors to make a long diagonal cut at the end of the tape. Then wrap the other half of the bar using the same method.
Make sure both sides are evenly padded with no wrinkles or gaps. Finally, secure both ends with electrical or finishing tape and add bar-end plugs for extra protection.
6. Tucking Grip Tape At Levers And Shifters
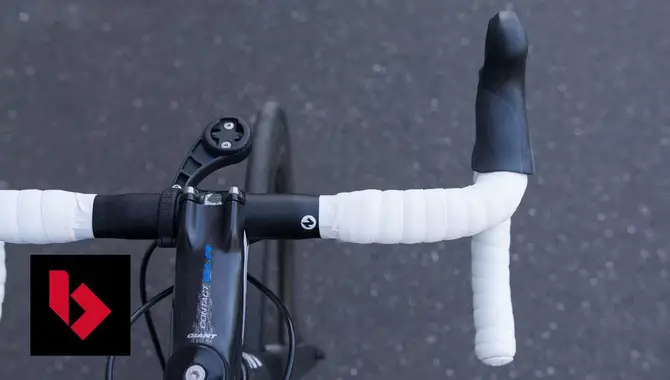
For cyclists looking to learn how to wrap handlebars with grip tape. It is essential not to overlook the importance of tucking the grip tape at the levers and shifters. Clean your handlebars and remove any residue or old tape to achieve a professional look while riding your bike.
As you wrap the new bar tape around your handlebar in a clockwise direction, make sure to overlap each layer slightly by about half of its width. When you reach the levers and shifters on both sides of your bike’s handlebars, carefully tuck the end of the grip tape under for a secure hold.
By following these steps and using secondary key terms such as “clean,” “old tape,” “residue,” and “overlap,” you can ensure a comfortable ride with a neat finish.
7. Wrapping Around Handlebar Hooks
When wrapping your handlebars with grip tape, paying attention to every detail and aspect is essential. The good idea is to clean your handlebars using a cloth and remove any old tape or residue. Begin wrapping at the bottom of the bar and work your way up toward the top in a clockwise direction.
Ensure each layer overlaps slightly for an even thickness without wrinkles or bumps. Take care when wrapping around brake levers and gear shifters so that no important components are covered. It is advisable to finish off with electrical tape or bar end plugs for a neat finish that will leave no sticky residue on the hands while riding.
8. Wrapping Around Brake Hoods

To wrap your handlebars with grip tape, start by cleaning your handlebars and removing any old tape or residue. When wrapping around brake hoods, begin by taping underneath and working your way up toward the top of the hood in a clockwise direction.
Make sure to overlap each layer of the tape to ensure even thickness and coverage while providing cushioning for increased comfort while riding. Finish off with an extra layer of electrical tape for added durability and a neat finish without wrinkles or excess tape. Using scissors to cut off the extra tape is always a good idea.
Finishing Touches To Wrap Your Handlebars With Grip Tape
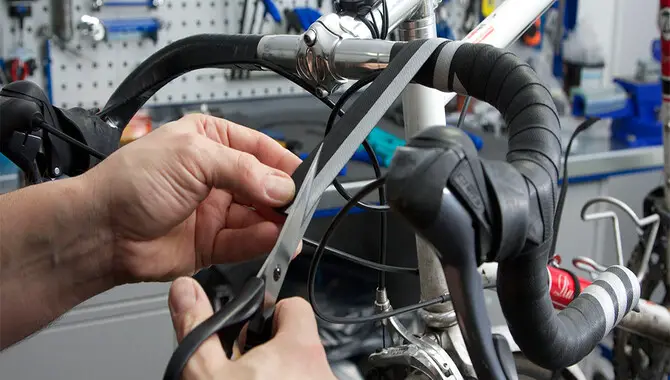
After wrapping with grip tape on your handlebars, you must ensure its ends are neatly finished. You can trim any excess tape using scissors or create a long diagonal cut at the end for a tidy look.
Secure the end of the tape by wrapping an adhesive strip around it and pushing it into the handlebar, as this will prevent any sticky residue left behind by old tape. Finally, add bar-end plugs to keep everything in place and prevent unwrapping while riding on rough terrain.
Trimming Excess Grip Tape
After wrapping your handlebars with grip tape, it’s important to trim any excess tape carefully. To do this, use sharp scissors or a utility knife to cut off any extra tape neatly. Be sure to leave enough tape to cover the end of the bar and provide a secure grip without cutting into the handlebar itself.
Once you’ve trimmed off the excess tape, you can use a lighter or heat gun to melt and seal the edges for a neat finish. It’s also a good idea to consider using bar end plugs or adhesive strips to secure the ends of your new handlebar tape and prevent unraveling or sticky residue in future rides.
Cyclists might want to experiment with different types of bar tape, such as foam or cork, for added cushion during long rides. Furthermore, making an extended diagonal cut on each side helps create an even thickness when taping around curves.
Adding Gel Pads For Comfort
Gel pads are a good idea for additional comfort while wrapping your handlebars with grip tape. Firstly, select the right size and density of gel pads that suit your needs. These are in various sizes and densities like foam, cork, or gel.
Secondly, cut them to size and place them on top of the handlebar before wrapping them with the new handlebar tape in a clockwise direction starting from the bottom. While rotating the bars, keep an even thickness throughout the wrap.
Make an extended diagonal cut at an angle when you reach the brake lever body on either side. Tuck excess tape into end plugs or use adhesive strips to hold it. Lastly, do not leave any sticky residue from old bar tape on your handlebars, which can cause wrinkles in the new tape.
Securing the End of the Grip Tape
For A Neat Finish, There Are Several Ways To Secure The End Of The Bar Tape Without It Unraveling over time. One solution is to use electrical tape or adhesive strips, both of which offer reliable adhesion and long-lasting hold.
Alternatively, you can use an old bar plug or new adhesive bar-end plugs, depending on the type of handlebars you have. Additionally, trimming excess tape at the bottom of the bar with a pair of scissors is essential for a tidy appearance.
Lastly, cleaning any residue left behind from old tape with alcohol can help achieve better adhesion with fresh tape. Incorporating these tips will result in an even thickness and eliminate wrinkles for a comfortable and secure grip while riding.
Conclusion
Wrapping your handlebars with grip tape is an easy and cost-effective way to improve your grip and control while cycling. It provides better grip, comfort, and control while riding. While the process may seem intimidating, it is quite easy. Remember to choose the right grip tape and prepare your handlebars before wrapping.
Don’t forget the finishing touches, like trimming excess grip tape and adding gel pads for extra comfort. With these tips in mind, you can easily wrap your handlebars and enjoy a more comfortable ride.
We have provided a lot of information on how to wrap your handlebars with grip tape, and we hope our information was helpful from your perspective.
Frequently Asked Questions
How Do You Wrap Handlebars With Tape?
To wrap handlebars with tape, begin at the end and wrap it tightly in a clockwise direction, overlapping each layer by about half. When you reach the brake levers, make small cuts in the tape for smooth wrapping. Finally, secure the end of the tape with electrical or finishing tape.
How Do You Put Grip Tape On Handlebars?
Putting grip tape on handlebars involves cleaning the surface, cutting the tape to size, and wrapping it tightly, with each layer slightly overlapping. Tuck or cut off excess tape for a clean finish. Careful attention to detail is key for a secure grip while riding.
Which Way Do You Wrap Handlebar Tape?
When wrapping handlebar tape, begin at the end and wrap towards the center, with each layer overlapping by half the width of the tape. Wrap clockwise on the right and counterclockwise on the left. Tighten the tape as you go for a better grip.
What Do You Wrap Handlebars With?
To wrap handlebars, use grip tape for a non-slip and comfortable surface. Choose from various materials such as foam, rubber, or cork. Ensure to clean and dry the handlebars before wrapping them for optimal adhesion.
Should I Use Bar Tape On My Handlebars?
Bar tape on handlebars is recommended for better grip, shock absorption, and reduced hand fatigue while cycling. Different types of bar tapes are available with varying thicknesses and grip. Properly applied bar tape can also enhance the bike’s appearance and feel.

I am passionate about writing blogs about bikes. I love riding my bike and love talking about it even more. My blog is the perfect place for anyone who loves biking as much as I do. Come check it out and learn some tips and tricks from me!

