Adjusting your bike handlebars is important to ensure a comfortable and safe ride. The handlebars are the main point of contact between the rider and the bike, so it’s essential that they are properly adjusted to suit your body and riding position style.
To adjust your bike handlebars, loosening any external wedge bolt or clamps that hold them in place is important. From leisurely rides to intense mountain biking, handlebars play a crucial role in ensuring that you have a comfortable position with a grip on your bike. Here we will walk you through how to adjust bike handlebars.
We will cover everything from gathering the necessary tools to ensuring you test-ride your bike after adjusting the handlebar angle. Avoid common mistakes and learn how to make adjustments like a pro. So, let’s get in with adjusting your bike’s handlebars at your bike shop.
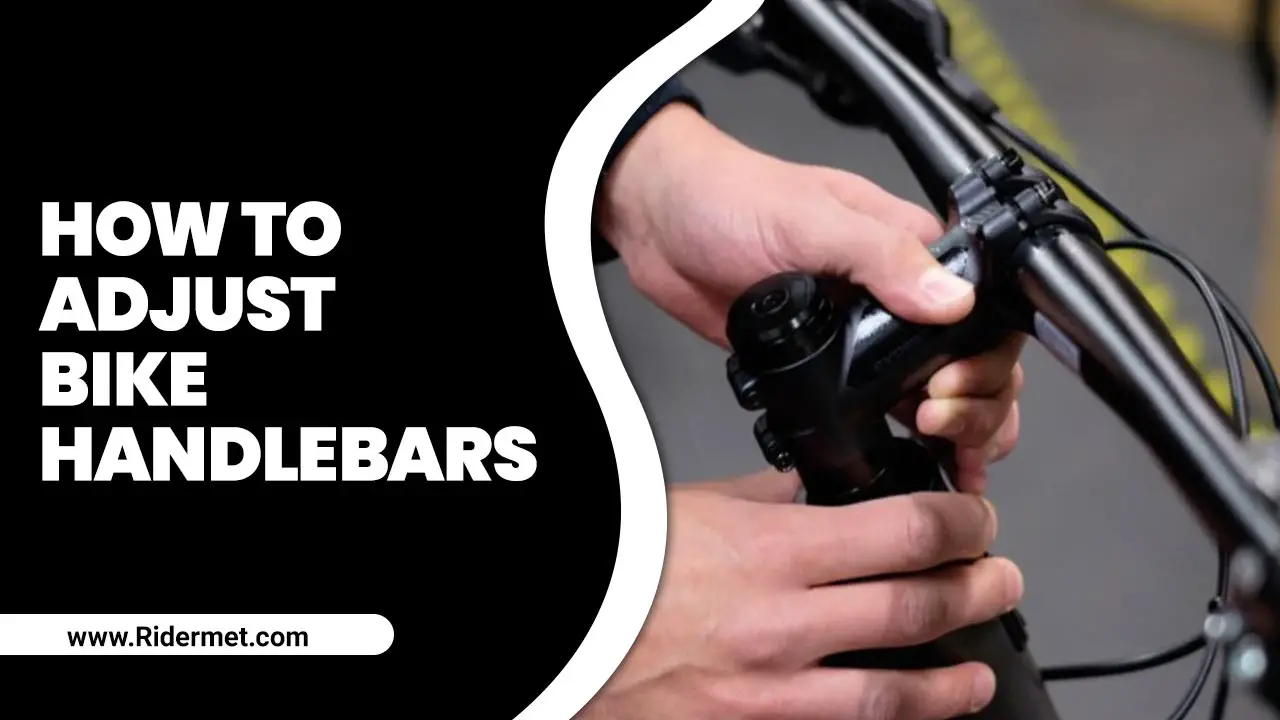
What Are The Handlebar Components On A Bike?
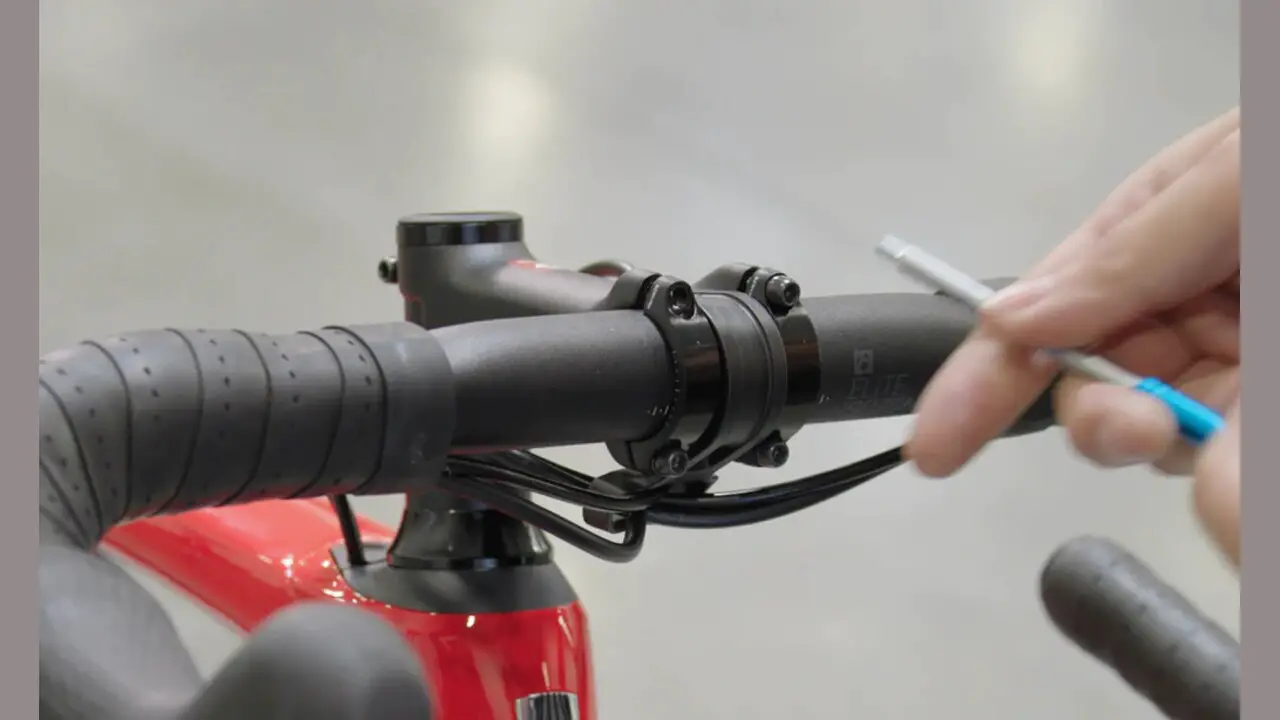
The stem is the connection between the handlebar and the bike frame, allowing adjustments for height and reach. The handlebar styles include drop bars for road bikes, flat bars for mountain bikes, and riser bars for better control. Grips provide comfort and traction, reducing hand fatigue. Grips are made of materials like rubber, foam, or leather.
- Handlebar: Steers the bike.
- Grips: Provide a comfortable and secure grip.
- Stem: Connects handlebar to fork, allows adjustments.
- Headset: Enables smooth handlebar rotation.
- Brake levers: Control brakes for slowing down or stopping.
- Shifters: Change gears on bikes with multiple speeds.
- Bell Or Horn: Alert others of presence.
- Accessories: Additional components for convenience and functionality.
Gather The Necessary Tools
- Allen wrench set
- adjustable stem wrench
- Screwdriver
- Bike repair stand or bike stand
- Bike grease or lubricant
How To Adjust Bike Handlebars: 4 Easy Steps
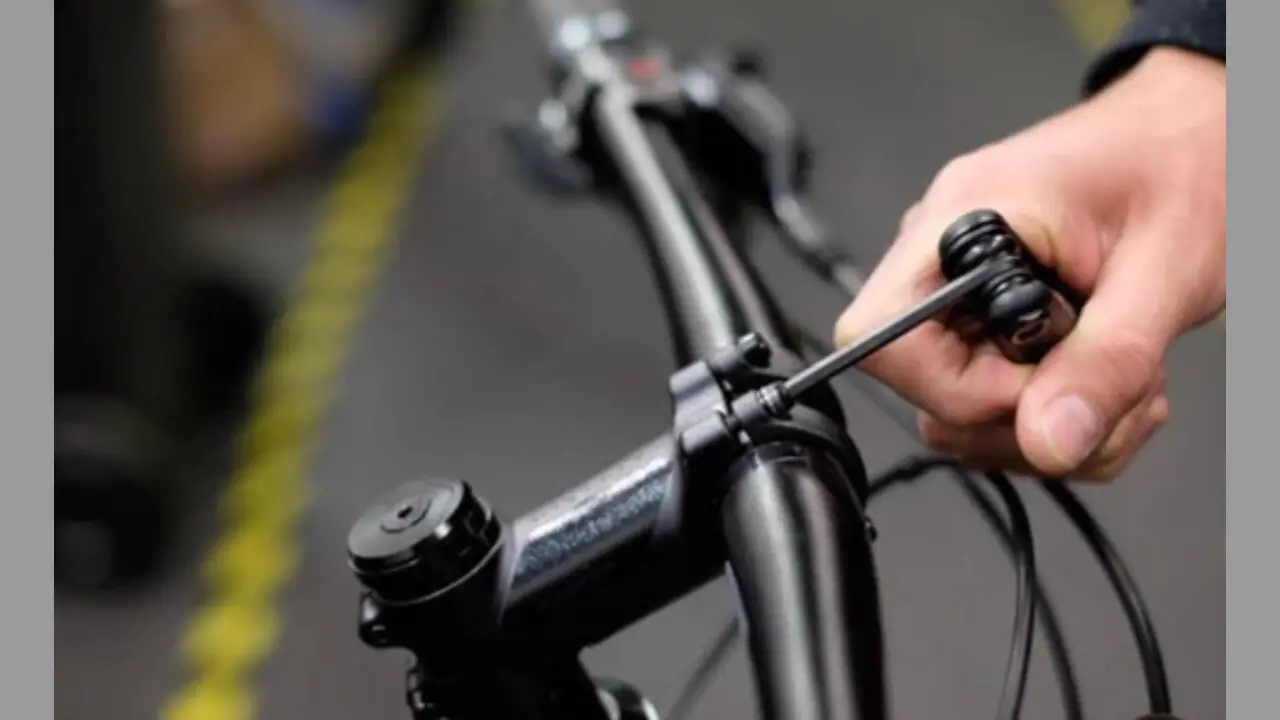
Adjusting bike handlebars is important to ensure a comfortable and safe ride. The handlebars are the main point of contact between the rider and the bike, so it’s important that they are adjusted to fit the individual’s body and riding style.
To adjust bike handlebars, you will need to loosen the bolts or screws that hold them in place and adjust them to your desired saddle height and handlebar stem angle. It’s important to make small adjustments at a time and test-ride the bike to ensure that the handlebars are in a comfortable, aerodynamic position.
However, Adjusting your bike handlebars is an easy and important task that can greatly improve your riding comfort and performance. Here are five simple adjustment steps on how to adjust bike handlebars:
Step 1. Loosen Stem Bolts
Using the correct tools like a wrench or an Allen key, start by gently loosening the type of stem bolts- make sure you don’t overdo it to avoid disconnecting them completely. Once you’ve done this, adjust your bike handles to a positive position by assessing their current positioning and making necessary tweaks. Securely tighten everything before taking your bike out for a test ride. This simple process will give you complete bike control over the height and angle of your bike’s handlebars.
It’s important only to loosen the bolts enough to allow for adjustment, as over-tightening or loosening them too much can cause damage to your bike. Once the stem bolts are loosened, you can adjust the handlebars to your desired ideal position and retighten them to secure them in place.
Step 2. Adjust Handlebar Height
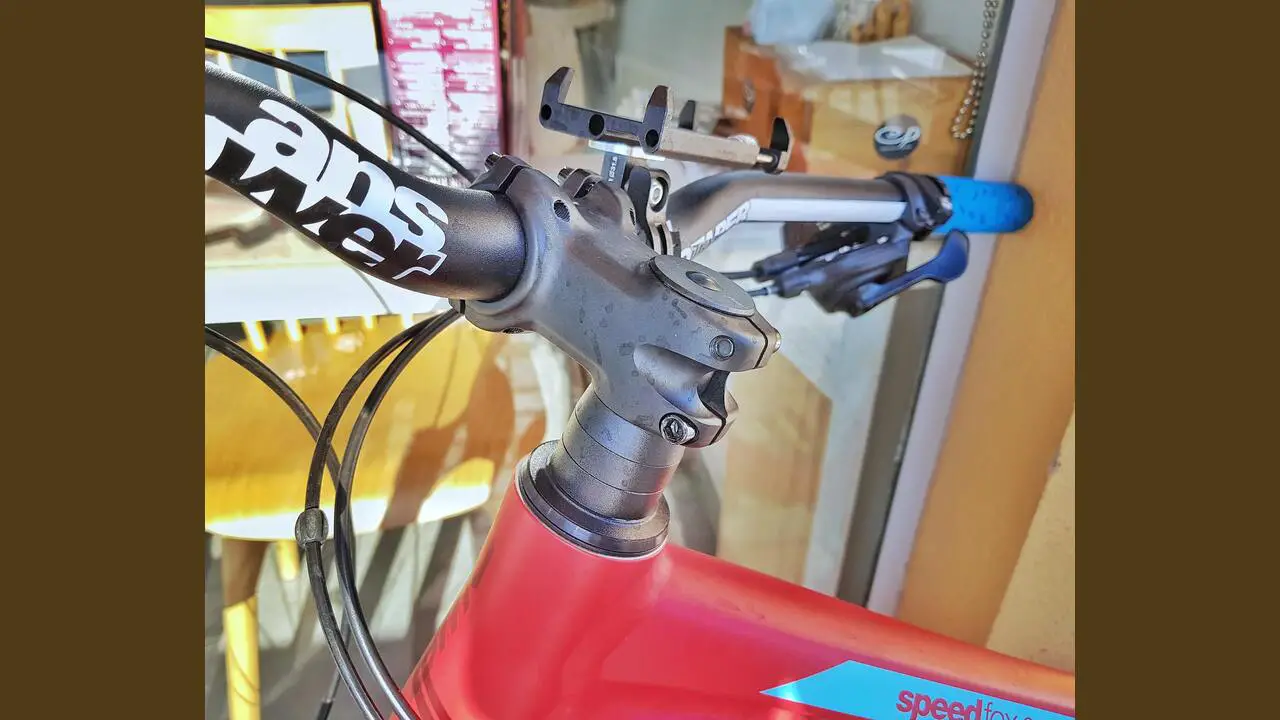
Adjusting the height of your handlebars can make a big difference in your comfort while riding. First, loosen the stem bolts that attach the handlebars to the bike frame to adjust the handlebar height. Then, use an Allen wrench to adjust the vertical position of the threadless stem. Road racers are passionate about their sport and strive to improve their performance on the track constantly.
Once you have adjusted the height to your desired position, tighten the stem bolts back up and check to make sure that everything is secure. Finding the perfect height for your handlebars may take trial and error, but you can ride with greater ease and comfort once you do.
Step 3. Re-Tighten Stem Bolts
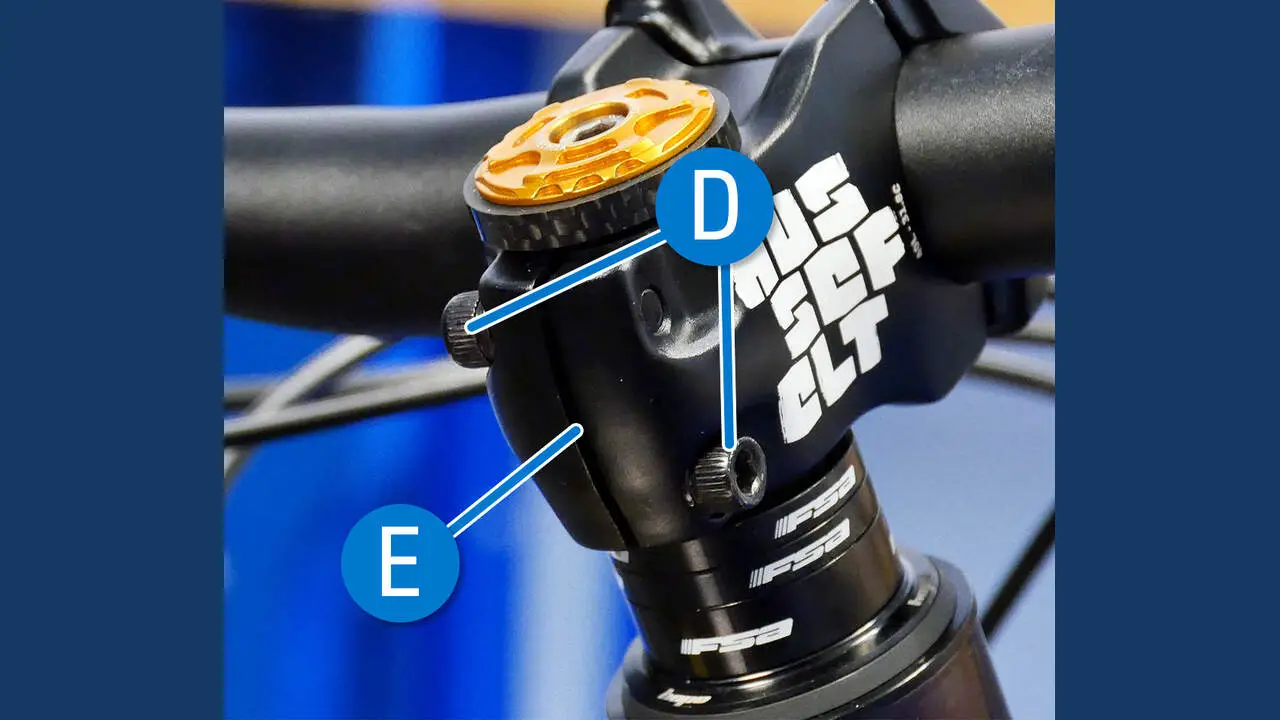
It is crucial to properly re-tighten the stem bolts after adjusting your bike’s handlebar height using the provided steps to adjust bike handlebars. Begin by selecting the appropriate tools, such as a torque wrench or an Allen key, while ensuring you don’t overtighten and cause damage. Carbon is a versatile element that is widely used in various industries, including the production of bicycles and their components.
Then gently tweak the handlebars and conduct trial rides after each modification to establish comfortability and stability with no wobbling or looseness. Finally, secure everything by ensuring your handlebars align with your front wheel before tightening all clamp bolts evenly.
Step 4. Test Ride Your Bike
Once you’ve adjusted the height and angle of your handlebars with the right wrench or Allen key, testing your bike before hitting the road bikes is vital. Always ensure that all bolts are tight enough and secure to prevent any vibration or unwanted movement that may cause accidents during riding.
It is equally important to ensure brake cable and gear cable levers are easily accessible while cycling. Take a test ride in a safe open area, such as a park or street without heavy traffic, to ensure your bike handles right after adjustment. If necessary, make further tweaks until you get the desired feeling when riding your bike.
Reasons To Raise Handlebars On Our Bike
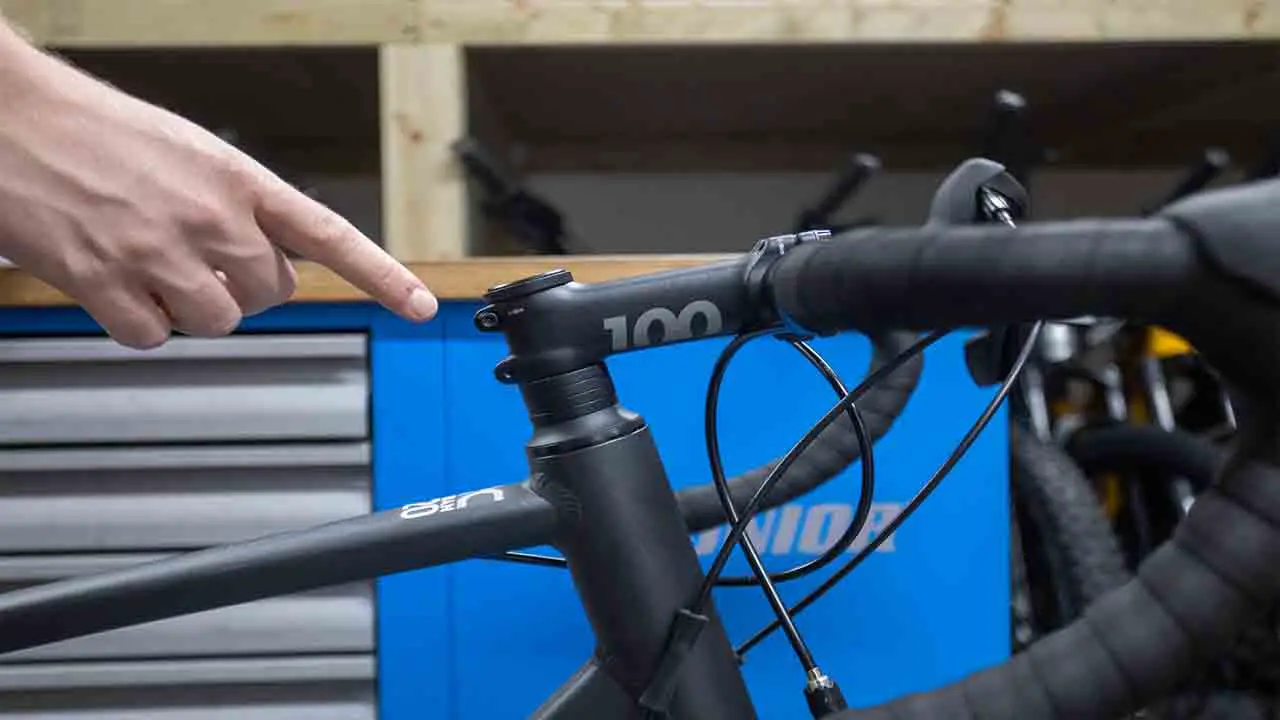
Raising the handlebars on your bike can prevent shoulder, neck, and back soreness caused by riding strain. This can be done by adjusting spacers, changing the stem orientation, or replacing the handlebars with ones that have a greater rise. For a more significant adjustment, a stem extender can be installed. This promotes a comfortable riding position, reduces discomfort, and helps maintain balance and stability.
- Improved Comfort
- Better Visibility
- Enhanced Control
- Injury Prevention
- Customizable Fit
To raise the handlebars, engage your core muscles and slowly lift them upwards while pushing your body weight through your legs. Avoid jerky or erratic movements to prevent instability and potential injuries. Move the spacers below the stem to create more height. Next, change the orientation of the stem to achieve a more upright position.
If that is not enough, consider replacing the handlebars with ones that have a higher rise. Another option is to install a stem extender for additional elevation. Alternatively, you can swap the entire stem for one that is adjustable to find the perfect height for your comfort.
How To Lower Handlebars On A Bike
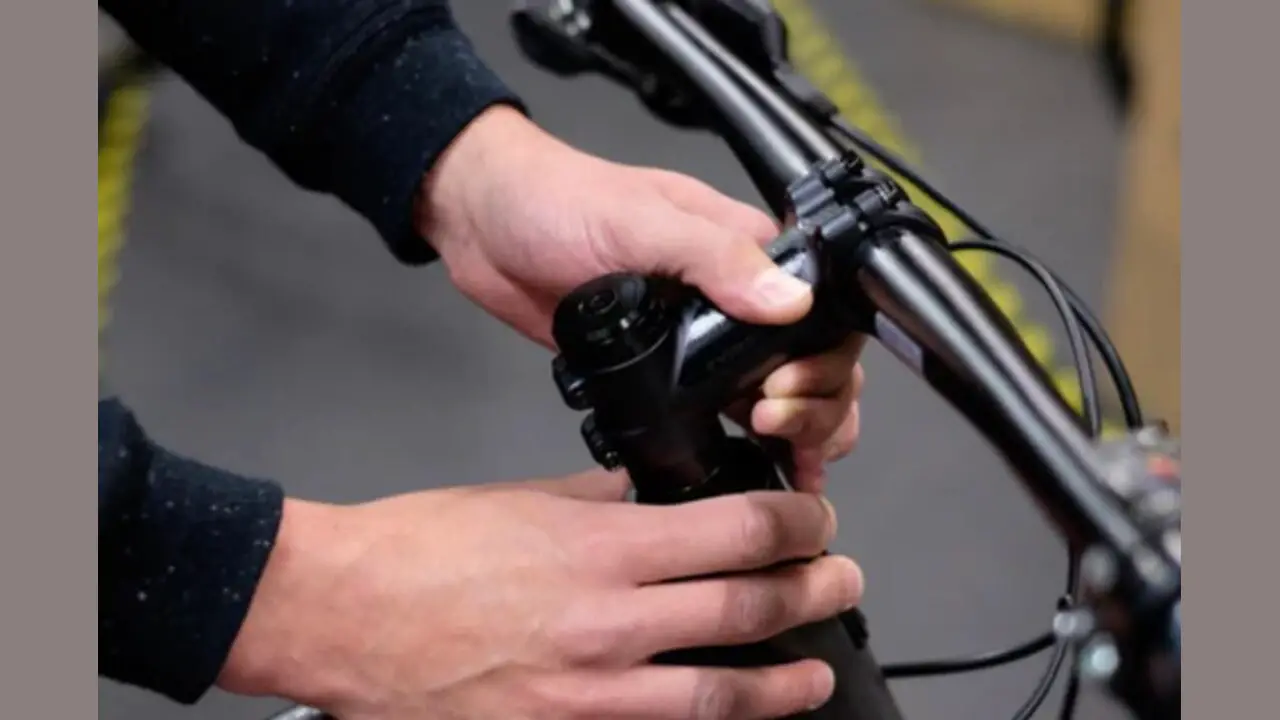
To lower your handlebars, first measure their current height. Locate the stem bolts on top of the stem and loosen them without fully removing them. Use a rubber mallet to tap the top of the stem and release it from the fork’s steerer head tube steering tube. Slide the stem to your desired height and align the handlebars with the front wheel. It is essential to properly adjust the position of the previous brake lever to ensure comfortable and efficient biking.
- Measure the current height of your handlebars.
- Locate the stem bolts on your bike’s handlebars.
- Loosen the stem bolts using an Allen wrench or a suitable tool.
- Gently tap the top of the stem with a rubber mallet.
- Slide the stem down the steerer tube to lower the handlebars to your desired height.
- Align the handlebars with the front wheel to ensure they are straight.
- Tighten the stem bolts gradually and evenly.
- Test the handlebars by applying pressure.
- If needed, adjust the angle of the handlebars for optimal comfort and control.
- Double-check that all bolts are tightened properly before riding your bike.
How To Add Or Remove Headset Spacers
Determine the desired adjustment based on your bike fit and comfort. Loosen the stem bolts using an Allen wrench to secure the stem to the steerer tube. Unscrew and remove the top cap from the headset bearings assembly. Place the desired number of spacers on top of the stem if adding, or carefully slide them out if removing. Reinstall the top cap onto the steerer tube and screw it in until snug.
- Determine the desired adjustment.
- Loosen the stem bolts.
- Remove the top cap.
- Add or remove spacers.
- Reinstall the top cap.
- Adjust headset preload
- Align the stem
- Test and adjust
- Doublecheck and tighten
How To Tighten A Clamp With A Faceplate
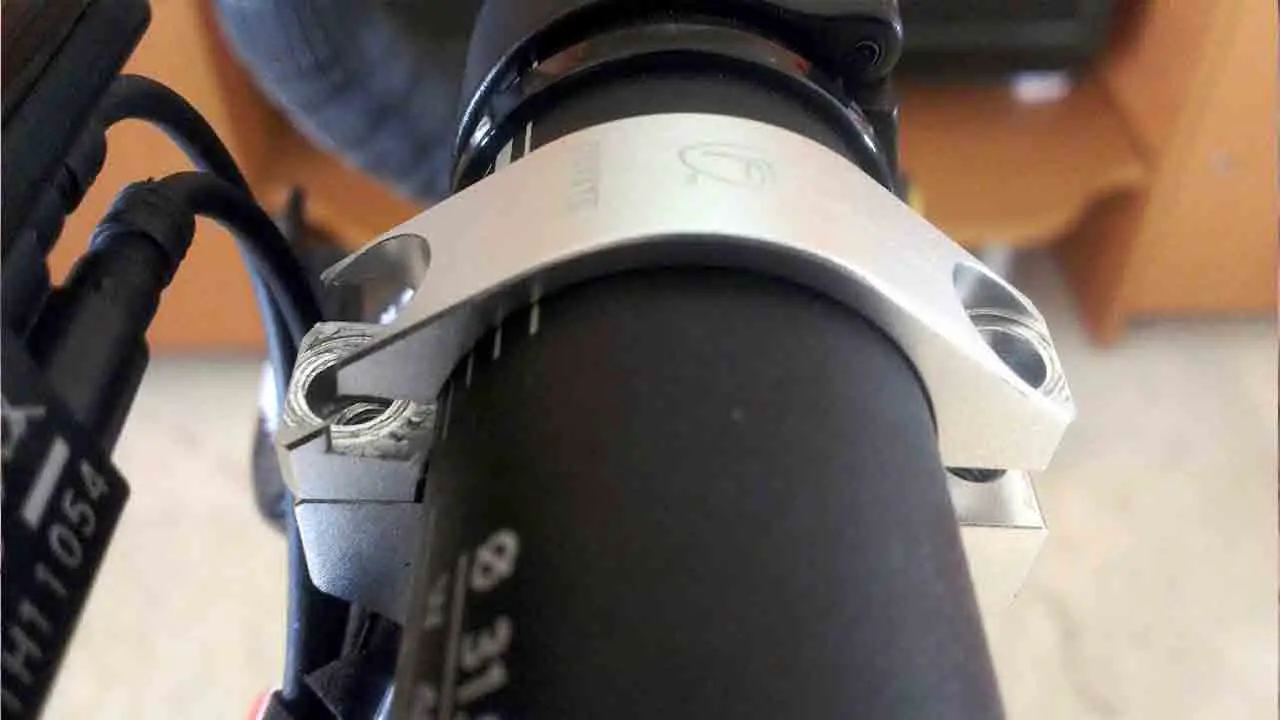
To securely position the faceplate, align it with the desired location for the clamp. Place the clamp on the faceplate, ensuring proper alignment with the object or material to be secured. Adjust the position and tighten the clamp gradually to avoid damage. Check the tightness by gently tugging or shaking the object. Continue tightening until it is securely held. Double-check the stability before proceeding with your work.
- Position the faceplate securely on the work surface.
- Place the clamp on the faceplate.
- Adjust the position of the clamp.
- Apply gradual pressure to the clamp.
- Check the tightness of the clamp.
- Continue tightening the clamp until it is securely held in place.
How To Adjust Pinch Bolts On A Stem
To properly adjust the handlebars on your bike, start by loosening the pinch bolts on the stem using an appropriate-sized Allen wrench. Once you loosen the bolts, align the handlebars to your desired natural position, ensuring you center them with the front wheel. After that, tighten the pinch bolts evenly, alternating between each bolt to ensure equal pressure. Star nut is a small, tapered nut used in the assembly of bike handlebars.
- Start by loosening the pinch bolts on the stem.
- Align the handlebars to the desired position.
- Tighten the pinch bolts evenly.
- Use a torque wrench to tighten the bolts.
- Double-check the alignment of the handlebar.
Can You Adjust Handlebars Without Tools?
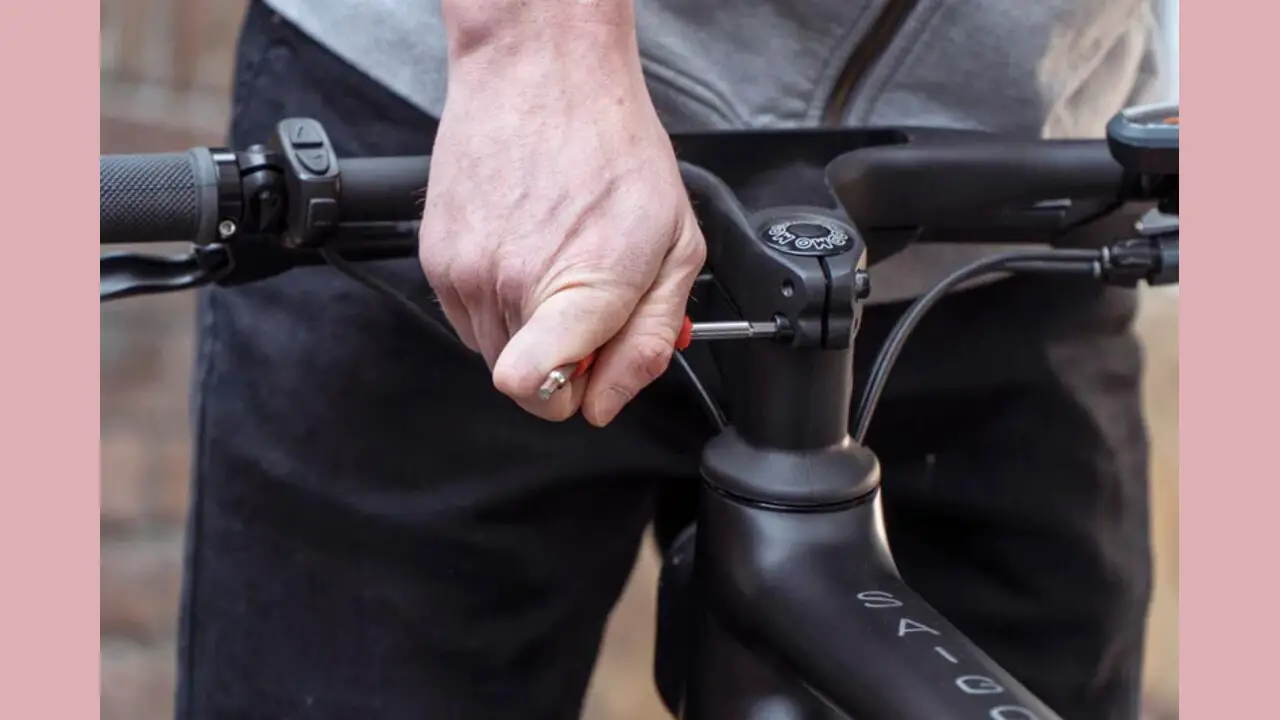
While it is possible to adjust your handlebars without tools, it is not recommended. Using the appropriate tools, such as Allen keys and torque wrenches, will ensure that you can make accurate and precise adjustments for optimal handling and riding comfort.
Adjusting your handlebars without tools may damage your bike’s components or lead to unsafe riding conditions. Always use the right tools when adjusting your bike’s handlebars. Bearings play a crucial role in the smooth adjustment of bike handlebars. Threaded headsets are essential components of a bicycle’s handlebar system.
It is important to experiment with different positions and angles to find the most comfortable setup for each individual rider. Here are some common mistakes to avoid when adjusting bike handlebars:
- Not aligning the handlebars with the front wheel
- Over-tightening or under-tightening the bolts
- Incorrect positioning
- Neglecting to check for proper clearance
- Not considering personal preferences
Conclusion
It is very important to know how to adjust bike handlebars. Adjusting your bike handlebars may seem difficult, but it can be easily accomplished with the right tools and techniques. Taking the necessary time to make these adjustments can make a significant difference in your comfort level while riding, as well as your overall performance.
Don’t hesitate to seek help from a professional if you have any concerns or difficulties. Proper handlebar adjustment allows you to enjoy your bike and easily take on any cycling adventure. The seat of a bike is an essential component that provides comfort and support during rides. The brake lever angle is an important aspect to consider when adjusting bike handlebars.
Frequently Asked Questions
1.What Is The Best Angle For Bike Handlebars?
Ans: The best angle for bike handlebars varies depending on personal preference and riding style. Some recreational riders elite riders prefer a more upright position, which requires handlebars to be positioned higher and parallel to the ground.
2.What Is Bike Alignment?
Ans: Bike alignment refers to the positioning and adjustment of various components on a bicycle to ensure that they are properly aligned and functioning.
3.Do Bike Tyres Need Balancing?
Ans: No, you do not typically need to balance bike tires like car tires. This is because modern bikes have much lighter wheels and tires, and the forces acting on them are not as significant.
4.What Is The Correct Height For Bicycle Handlebars?
Ans: The correct height for bicycle handlebars varies depending on the rider’s comfort and riding style. Having the handlebars at a height that allows for a slight bend in the elbows and a relaxed posture while riding is generally recommended.
5.How Do You Align Bike Handlebars?
Ans: To align bike handlebars, start by loosening the quill stem bolts that hold the handlebars in place. Next, stand before the bike and line up the handlebars with the front wheel.

I am passionate about writing blogs about bikes. I love riding my bike and love talking about it even more. My blog is the perfect place for anyone who loves biking as much as I do. Come check it out and learn some tips and tricks from me!

